Oiling
Oiling wood furniture: a decision before a technique
Oiling is one of the most misapplied parts of furniture care. On an oil-finished piece it restores depth and a little protection; on a lacquered or polyurethane piece it does nothing useful and leaves a dust-catching film on top. The first task is always to identify the finish.
Oil finish or film finish?
A film finish — lacquer, varnish, shellac, or polyurethane — cures into a protective layer that sits on the surface. Water beads on it. These finishes are cleaned and protected, never oiled; oil simply pools on the film, stays tacky, and collects dust.
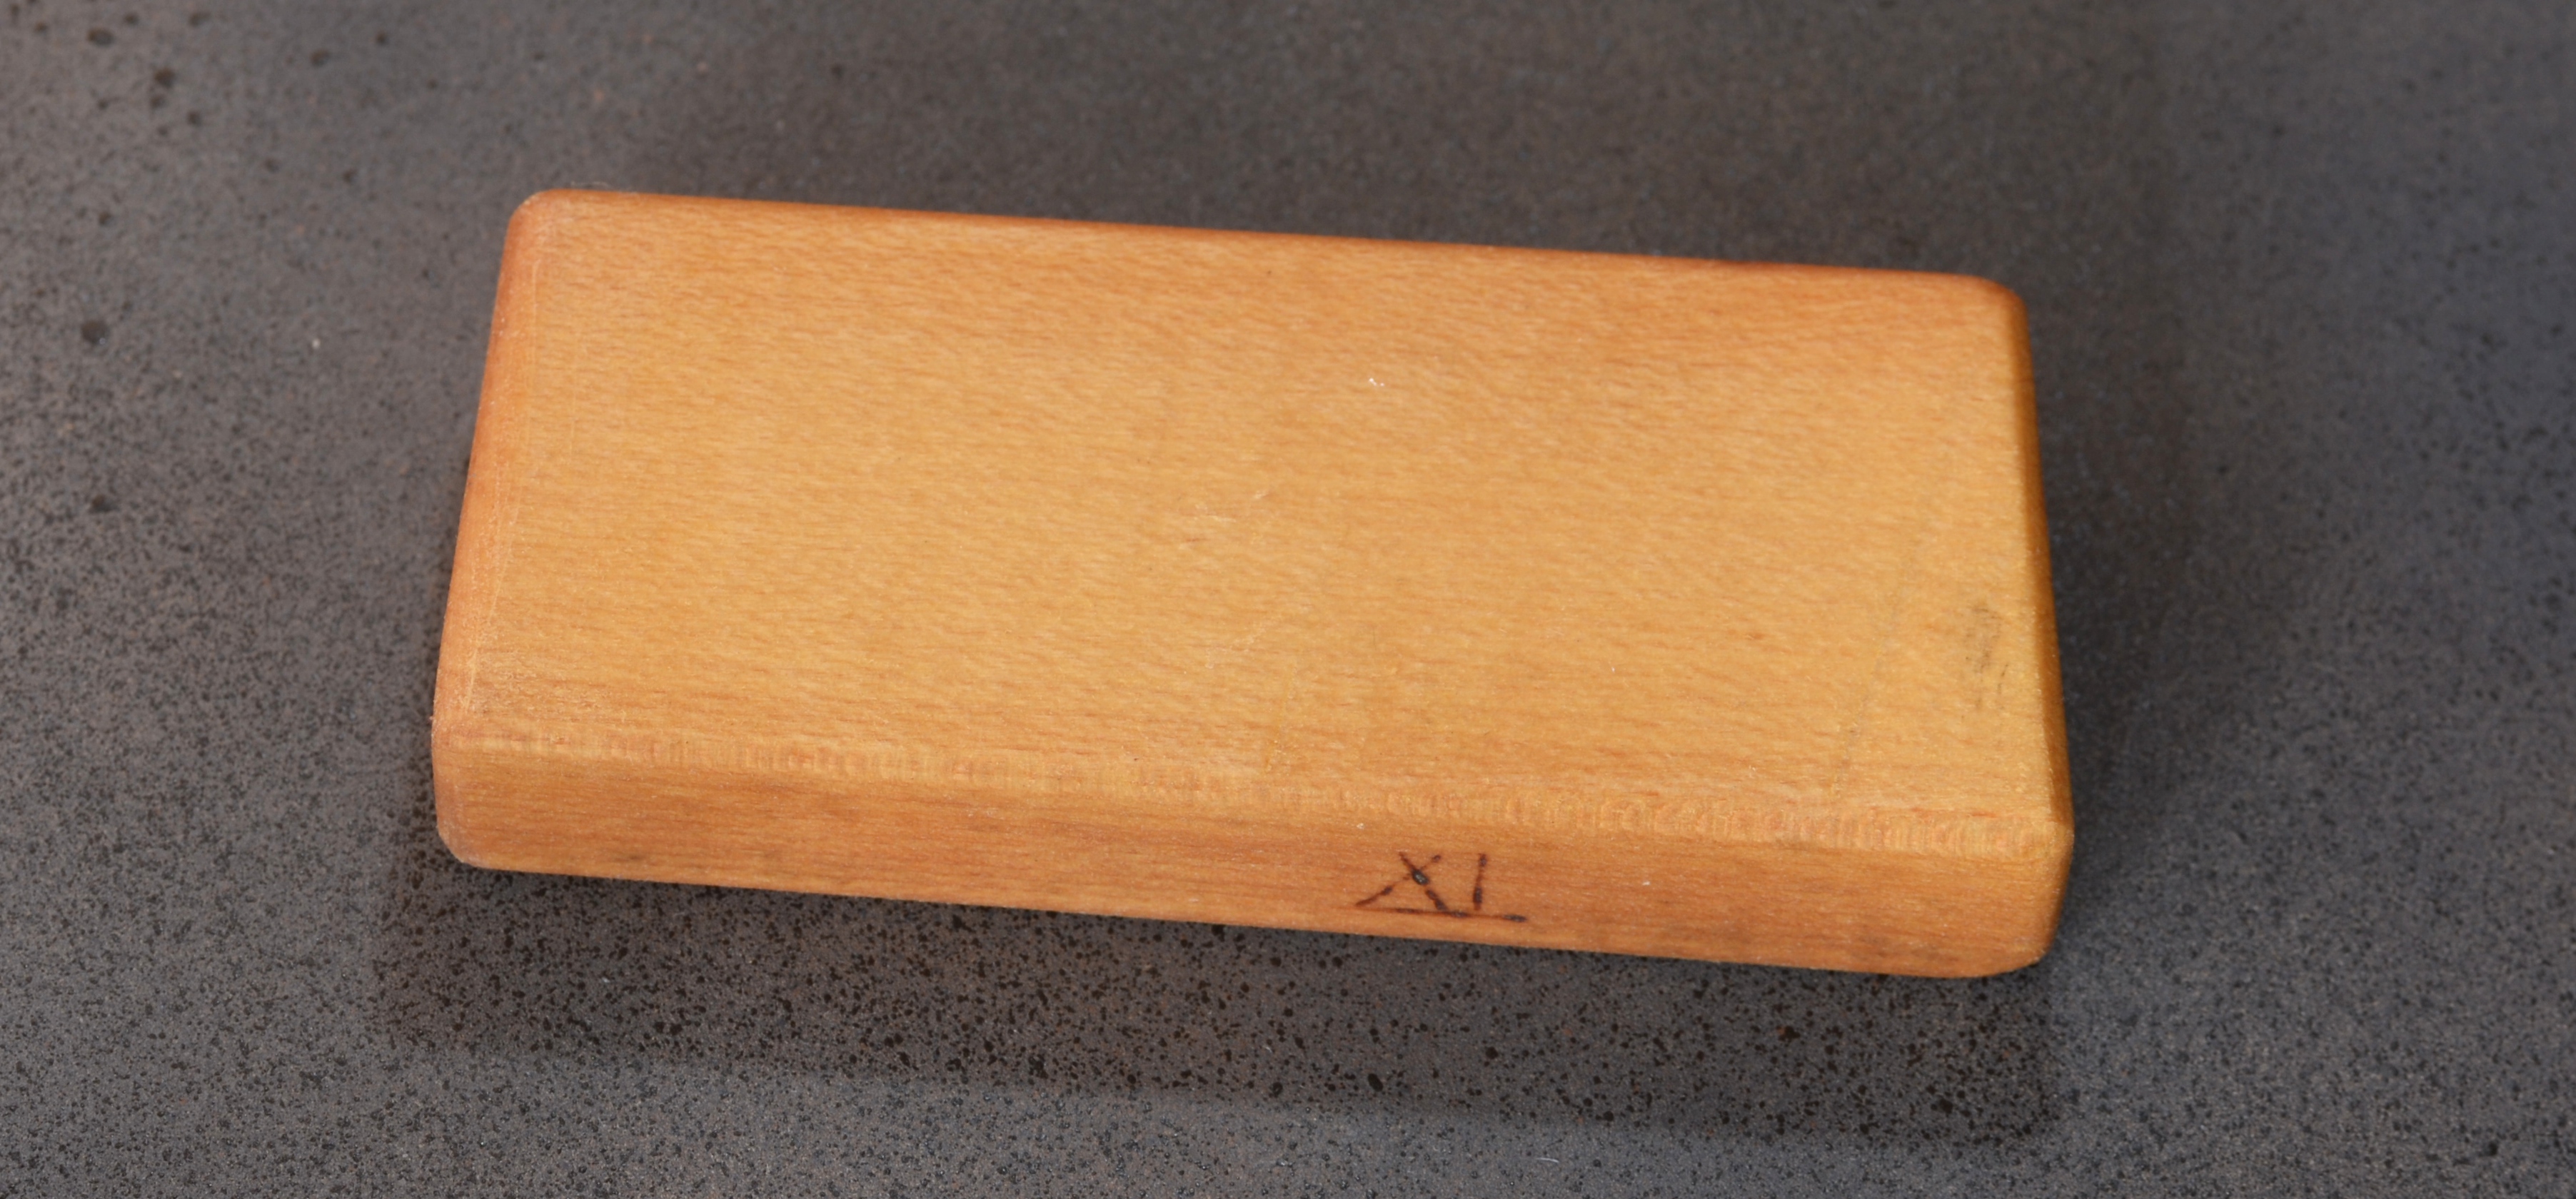
An oil finish — such as tung oil or boiled linseed oil — soaks into the wood rather than forming a hard shell. Water absorbs rather than beads, and the surface has a softer, in-the-wood look. These finishes are the ones that benefit from periodic re-oiling, because the oil is what is doing the protecting.
The bead test, repeated
Drop a little water on a hidden area. Beading means a film finish: do not oil it. Quick absorption means an oil or wax finish: re-oiling is part of normal care. When a piece is new, the maker's care card or label is the most reliable source, and it usually names the exact product to reapply.
Which oils are used on furniture
Two penetrating oils show up most often on oil-finished furniture:


Boiled linseed oil and tung oil (and blends sold as “Danish oil”) penetrate the wood and cure over time. The single most important rule is to reapply the same type of oil the piece already has, rather than layering a different product over it. Mixing finishes is where most patchy, uneven results come from.
How often, and how to apply
Rather than a fixed schedule, let the surface tell you: an oil finish that has gone dull or dry-looking is asking for attention. In practice that tends to fall somewhere in a six-to-twelve-month window depending on use, with heavily handled surfaces like dining tabletops needing it sooner than a side cabinet.
- Clean and fully dry the surface first, following the cleaning routine.
- Apply a thin, even coat with a lint-free cloth, working along the grain. Thin is the key word — flooding the surface leads to sticky, uneven spots.
- Let it penetrate for the time the product specifies, then wipe away all excess so nothing stays wet on top.
- Allow it to cure fully, undisturbed, before normal use.
Handle oily rags safely
Cloths soaked in linseed or tung oil can generate heat as the oil cures and have caused fires when left bunched up. Lay them flat to dry outdoors or store them in a sealed metal container, following the product label, before disposal.
What oil cannot fix
Oil is sometimes treated as a cure-all, but it will not stop wood from drying and cracking if the room is too dry. The Canadian Conservation Institute is direct on this point: wood does not need to be “fed,” and no amount of oil substitutes for a stable environment. Oiling complements humidity control; it does not replace it.
References
Finish-identification and reapplication guidance here aligns with publicly available material from the Canadian Conservation Institute and from furniture makers' published care notes. Photographs of oil-finished samples are from Wikimedia Commons.